The minute you walked in the joint
I could see you were a man of distinction.
A real big spender,
Good lookin’, so refined.
Say, wouldn’t you like to know
What’s goin on in my mind?
-Bette Midler
Bette Midler is one of those woman that isn’t a bombshell but yet there is still something about her that grabs your attention and makes her stand out in a crowd. One thing is for sure, she’s all around awesome!
This month’s challenge was ‘home decor’ and I wanted to do something that would add a little something-something to a typically ordinary object in my home. Something we all have but don’t tend to look twice at… Candles! There’s not much too them and although they serve a multitude of uses, they’re not much to look at (at least now that the 60’s and 70’s are over! Phew!). So I decide to spruce them up a little bit and give them a make-over.
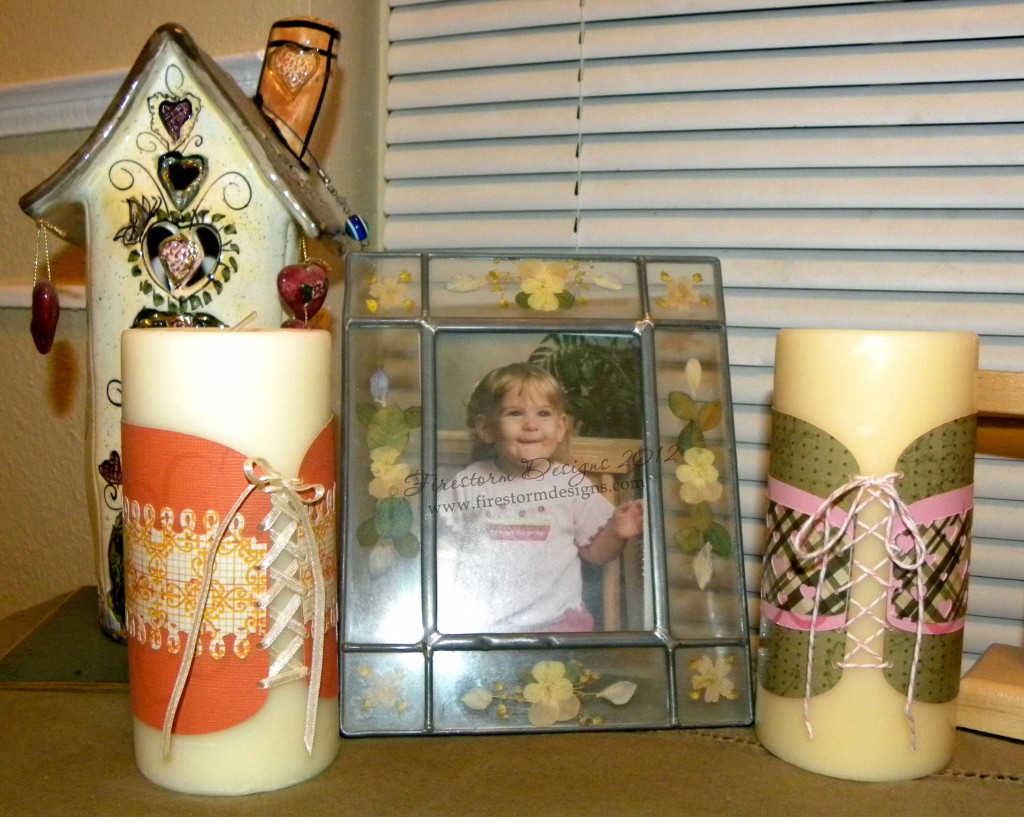
They’re Candle Corsets! *giggles* And the best part; they’re SUPER fast and easy to make. BTW – don’t tell my daughter about the picture! lol She’s 13 now and well…you know how THAT age is!
What I used:
Mischief, my Pinc eCraft
eCraftshop Pro Software
DCWV ‘Collage Musings’ stack
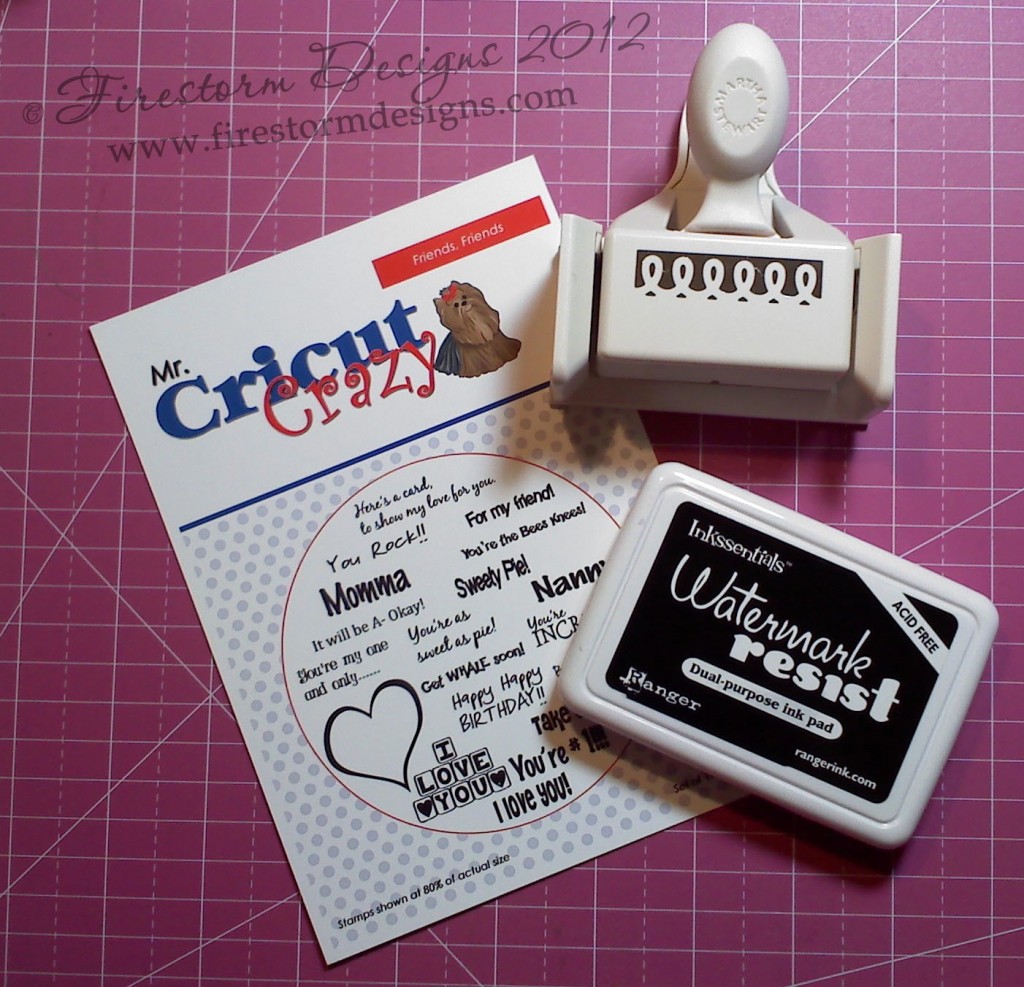
Mr. Cricut Crazy ‘Friends, Friends’ stamp set
Pink/White string also came from Mr. Cricut Crazy
Ribbon
Martha Stewart Border Punch and All Over the Page Punch (Hobby Lobby)
Inkssentials Watermark resist pad (JoAnn’s)
Zig Glue Pen (Hobby Lobby)
Scotch Advance Glue Glider (Michael’s)
Candles
Measuring Tape
Wine (optional)
How I did it:
I walked through my house a few times and waited for that ‘Ah-HA!’ moment, got it, grabbed candles and scurried off to my haven *cough* I mean, my CRAFT ROOM.
Use your measuring tape to measure around the candle; be sure to leave a little gap so the ‘corset’ lacing will show against the candle. For my candles I went with 8.5” wide and 4” tall; I wanted them big enough to be eye catching but not so big that I would have to take them off after only burning the candle for a short period of time.
From there I plugged the dimensions into the eCraftshop Pro and created the basic shape. I also created the ribbon holes in the software too — word to the wise — if you decide to make your basic shape in the software, figure out what size holes you want and where (using the already-created main shape), then copy the holes ONLY and paste them onto a new virtual mat. Then copy the main shape and paste it onto the same virtual mat as the holes. This way the eCraft cuts the holes and then the main shape 🙂 Easy Peasy!
Once the main shape was created, I used that to create the layers. I kept 2nd layers the same length as the main layer and just made that layer shorter. By doing that, the holes lined up when it was time to lace up the ‘corsets’.
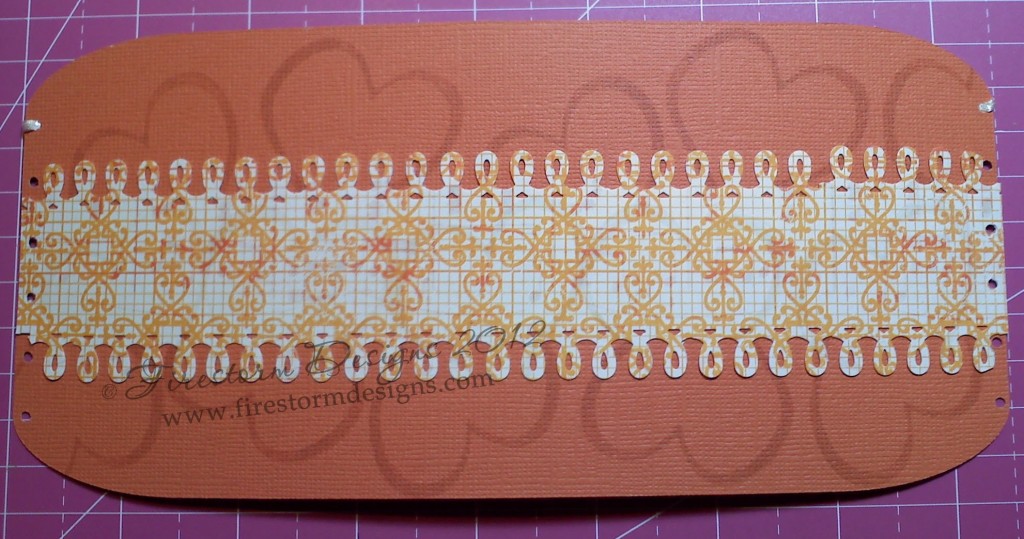
With the very cool geometrical style pattern paper from DCWV, I used a Martha Stewart border punch that complemented the pattern on the paper. Then I used the heart shaped stamp from the Mr. Cricut Crazy Friends, Friends stamp set and my watermark distress pad to create a nice detail pattern
For the green corset, I used a really pretty green pattern paper with polka dots and the plaid pattern paper from the DCWV stack and I plaid paired it up with a cheer piece of pink card stock. For the plaid layer, I used a Martha Stewart ‘All over the Page’ punch and did another watermark pattern with the same heart shaped stamp.
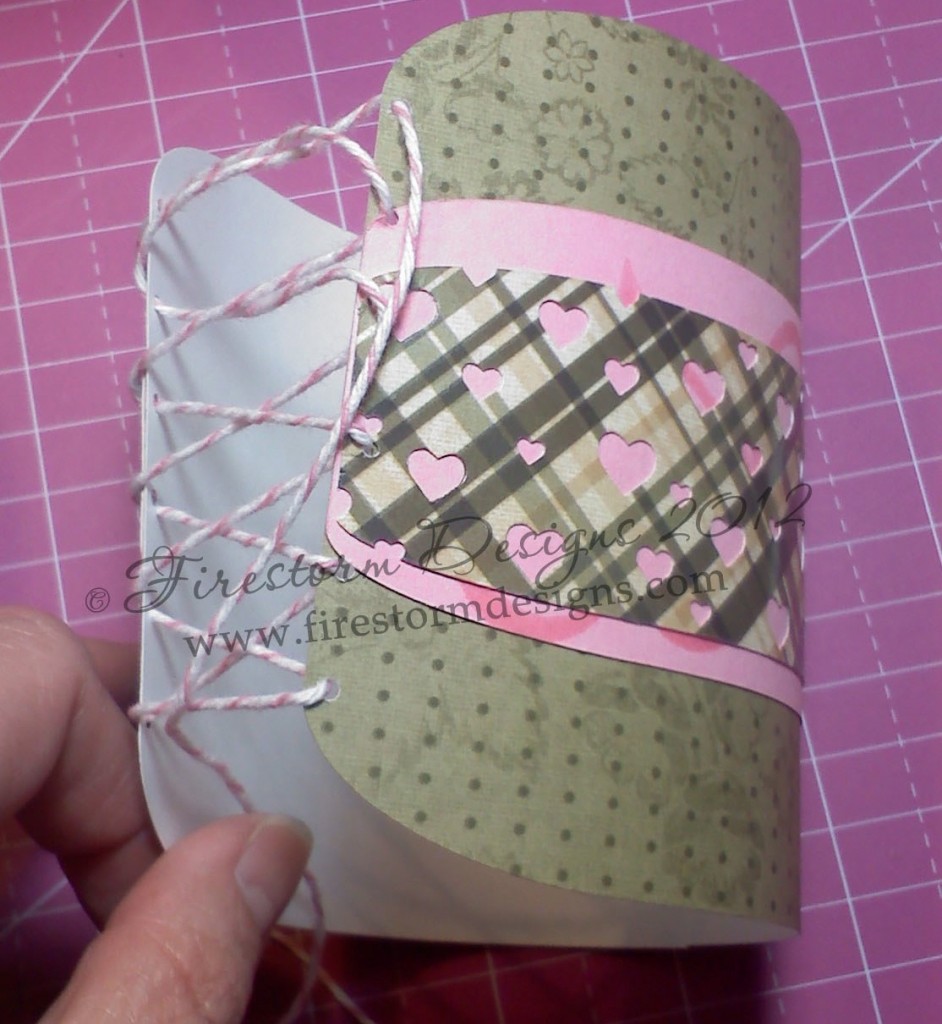
Now that the corsets are ready, its time for the tricky part. Getting them on the candles!
The first corset went on without a hitch, looks pretty fabulous too. But the 2nd candle wasn’t convinced this was such a good idea. So if you run into this problem yourself, here are a couple of options.
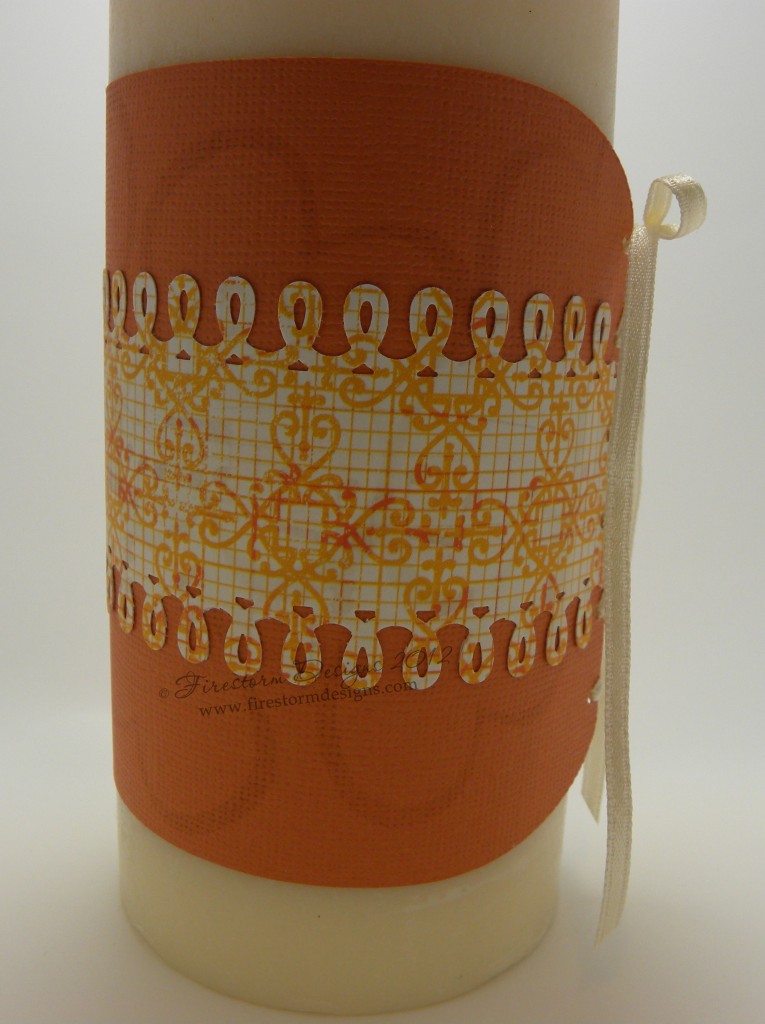
First, try the Peer Pressure approach. Show the candle how great the other candle looks and how they could look that good too.
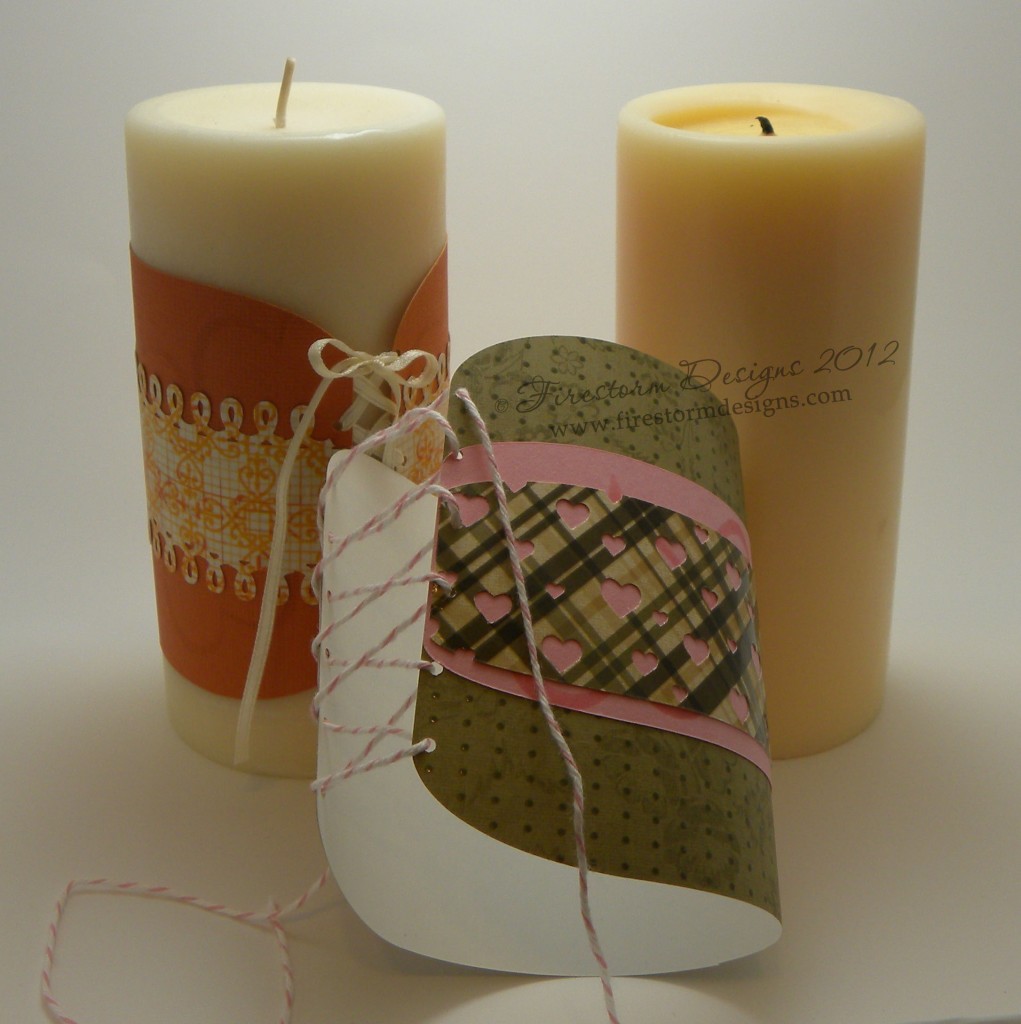
If that doesn’t work, try Bribery. I offered up a lovely glass of Pinot Noir from California…
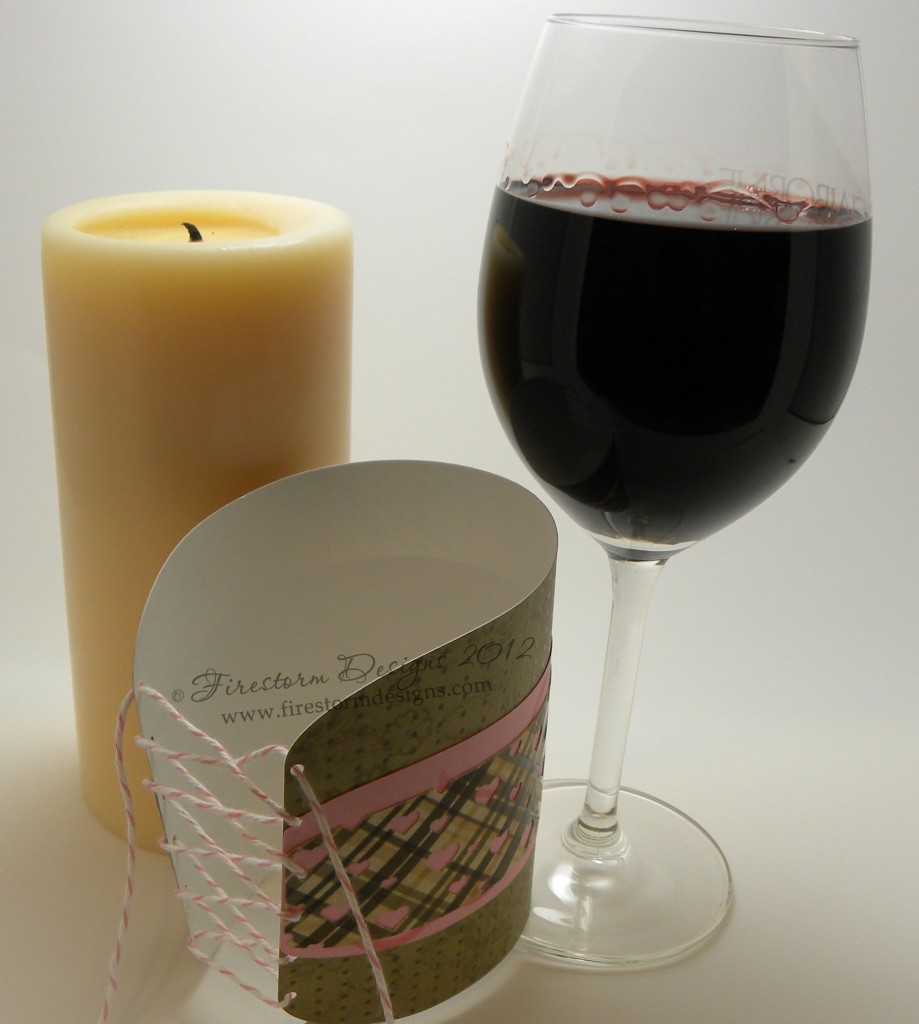
If that doesn’t work… do what I did. I kept the glass of wine for myself and told the candle to put on her big girl panties and get with the program! LOL
So without further adieu, Isabella and Francesca!
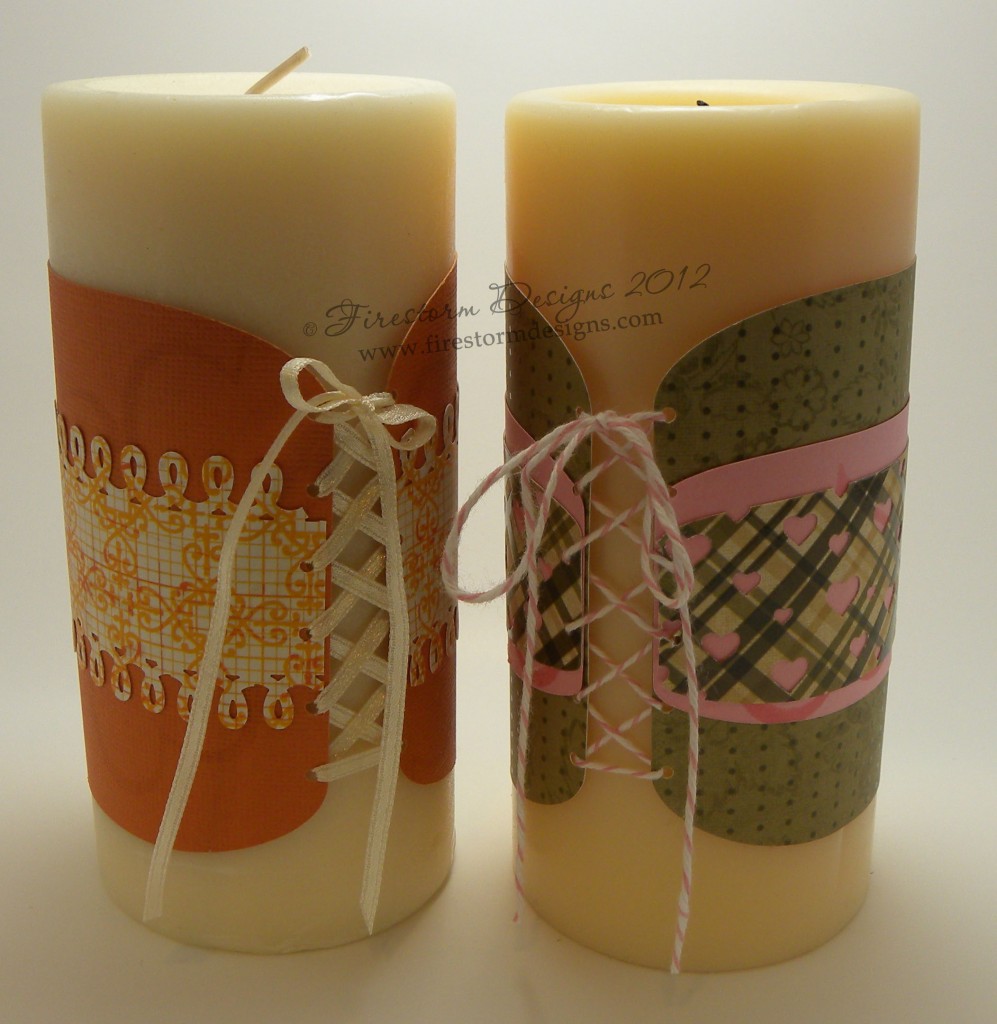
Aren’t they just darling?!?!?! Not bad for some great paper & stamp, a rectangle, some holes, 2 punches and ribbon/thread!
Now its your turn… How can you take ordinary and make it extraordinary?
For those of you that are new to eCraftshop Pro and need a little help with that first basic shape (rounded rectangle), let me know — I have screen shots of how I did this and would be more than willing to email them to you 🙂