The Dance-Drill Team squad that my daughter is on sure does! And to get us in the mood…
“Party Rock Anthem”
PARTY ROCK
YEA
Whoa!
LET’S GO!
Party rock is in the house tonight
Everybody just have a good time
And we gonna make you lose your mind
Everybody just have a good time
Party rock is in the house tonight
Everybody just have a good time
And we gonna make you lose your mind
We just wanna see ya
Shake that!
-LMFAO
And we’ll just stop right there with those lyrics! *chuckles* I’m still trying to proclaim this a family blog..
Life used to be all chocolate and roses – that is until word got out, thanks to my daughter, that I’m ‘CraftMom’. Oh yeah…you know how it is! Suddenly the Booster Board Moms are talking in excited whispers and looking at you like you’re some super hero, complete with cape and too tight tights! You notice a dangerous twinkle in their eyes…you turn to run – no where to go! Trapped, they close in on you and say those dreaded words “We hear you’re Crafty!”
And so began my daughter’s 8th grade year…
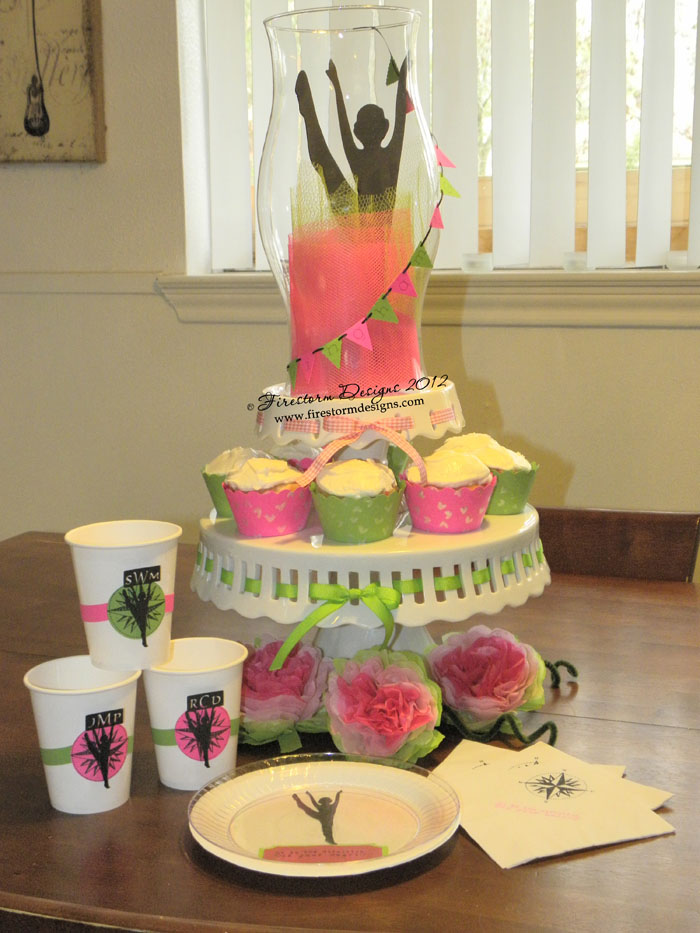
But wouldn’t this just look super cute for their end of year banquet?!?!?! heeheeheee
What I Used:
eCraft (Pinc, Mischief)
Jen Allyson SD card (Celebrates – Cupcake Wrappers & Banner Flags)
Unity Stamps – Itty Bitty Set (Direction of Your Heart)
WorldWin CutMates Cardstock (Key Lime Pie)
Neon Pink Cardstock
Stazon Inks (Jet Black, Fuchsia Pink, Cactus Green)
Perfect Pearls (Perfect Pearl)
Sizzix Texture Plate (Hearts)
Big Shot Pro (until you get your eBosser hehehe)
Scotch Advanced Tape Glider
Adhesive Squares
Foam Squares
Tissue Paper (Black, Neon Green, Pale Green, Hot Pink, Light Pink)
Ribbon (thin black)
Small Hole Punch or other piercing tool
Paintbrush (along with a little water)
Pipe Cleaners
Plain White Party Cups, Napkins & Plates
Clear Plastic Plate
Scrap cardstock
Cupcakes (YUM!)
How I Did It:
I innocently strolled out of the kitchen and then, with the stealth only a mom could possess, I escaped to my craft room and LOCKED the door! Bwaaahaahahaaaaaaaaaa Its good to be the Queen 🙂 Then I plopped in front of my Mac, fired up Mischief and POOF! My project was done…Uh huh, yeah. And then I woke up! o_O
Actually though, this project didn’t take much time to produce…its coming up with unique ideas that takes as much time as it did to give birth to my daughter and well, it sorta feels like it to! But once inspiration hits, WATCH OUT! Cuz Momma is on a mission and dinner is your problem!
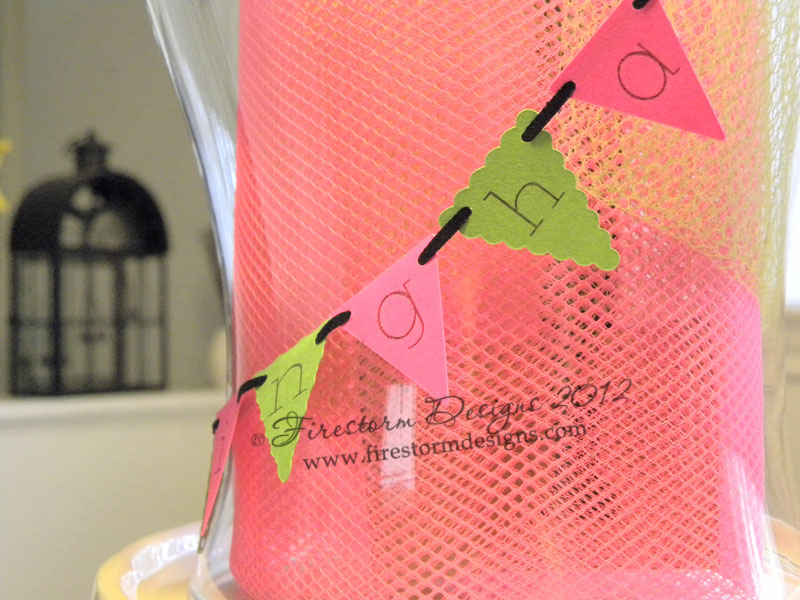
First on deck was the mini banner – the eCraft being able to draw and cut at the same time really made quick work of those tiny flags. Once the little flags were cut all I had to do was hole-punch them, feed the ribbon through and my little banner was done.
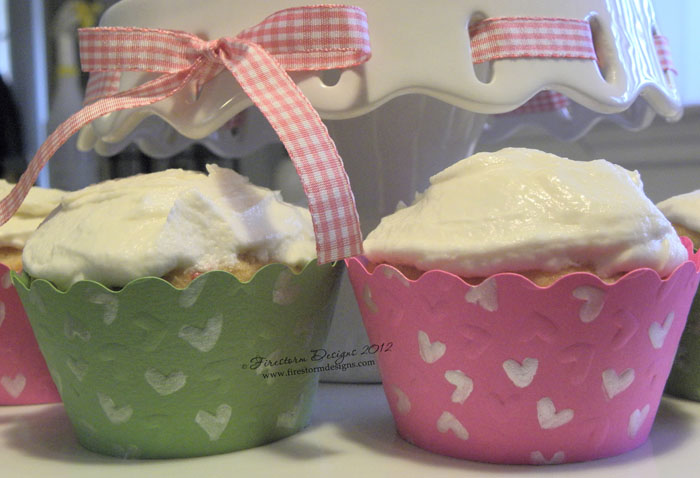
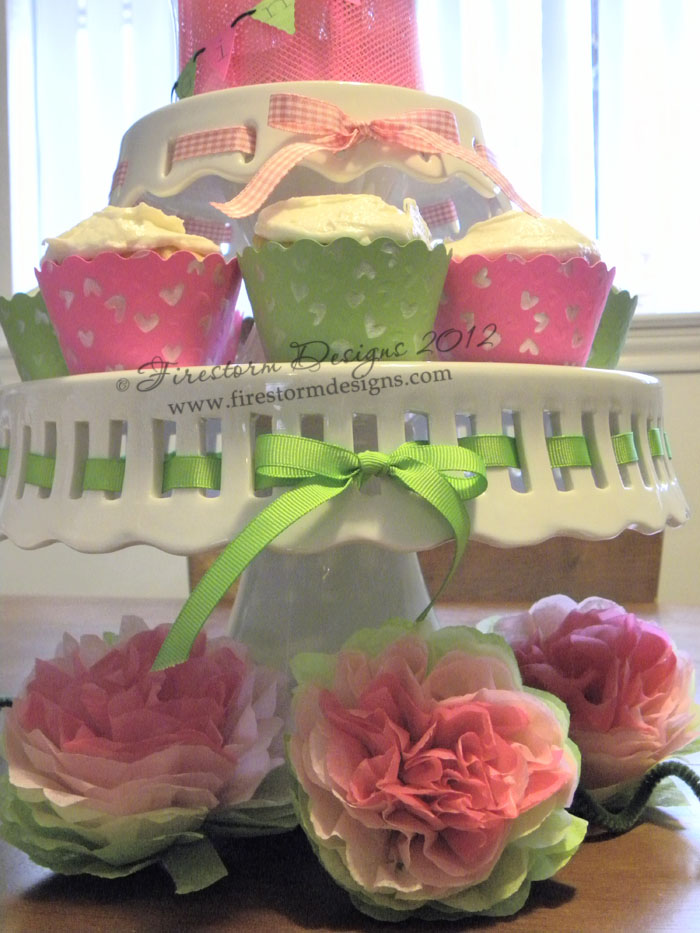
Next were the cupcake wrappers – be sure to measure your pan before you start cutting these so you don’t end up with wrappers that don’t fit. Once they were all cut out, I hauled out my Big Shot (geez that thing is heavy!) and a cute ‘hearts‘ plate to add some texture to them. Thank goodness the eBossers will be shipping soon – all this hand-cranking is making me look like a lopsided Popeye with only ONE big arm! So not the look I was going for… To add a little more dimension to the wrappers, I painted random hearts with a mixture of Perfect Pearls and water. Just add water a little bit at a time until you get the desired amount of shimmer. This is one of those products that I would love to have in every color 🙂
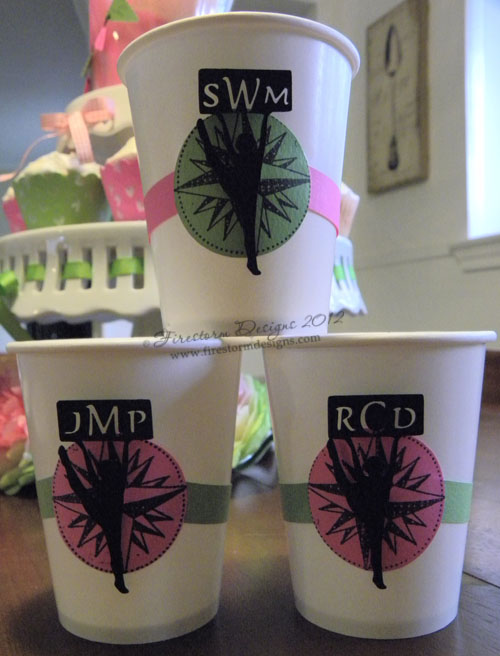
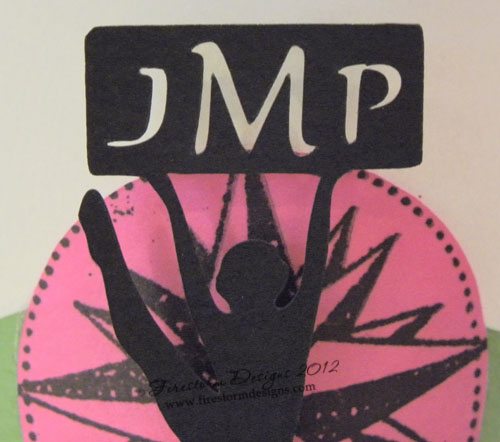
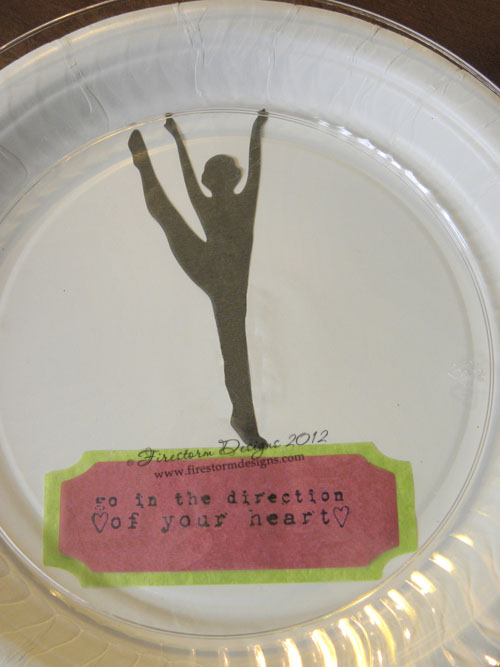
Now on to the beverage cups – There’s nothing worse than losing track of where your cup is at a party…and was that really YOUR cup after all? Eww! We won’t have to worry about that at this party, these cups are monogrammed 😉 I used eCraftshop Pro to reduce the size of my ‘dancer’, added a rectangle and ‘joined’ them. From there I added the initials and sent the file to Mischief to cut. I used foam squares to adhere the dancers to the circles that I stamped with the compass stamp from my Itty Bitty set and then used my Scotch ATG to adhere everything to the cups.
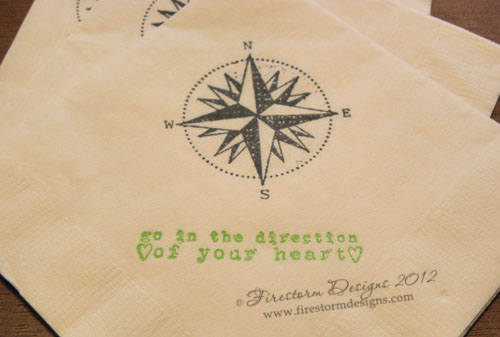
The napkins are stamped with the same compass and then I alternated between pink and green ink for the phrase ‘Go in the Direction of your Heart’. The great thing about Stazon inks—it STAYS on! lol Water won’t make the colors run and make a mess of everything and it also helps that they’re non-toxic.
The main ‘dancer’ in the hurricane glass is just your basic cut… BUT the elements on the plate – now those are a whole other story! The dancer and the phrase layers are tissue paper. Yup, just tissue paper – you know, the stuff you use in gift bags. Add a clear plate on top and you’ve got form and a fashionable plate!
How cool is that? I cut tissue paper with my eCraft *grins* I even used Mischief to cut the rectangles of tissue paper for the flowers under the cake stand.
If you want to know how I was able to cut tissue with my eCraft – leave me a comment and let me know 🙂
Until then… What’s your preference – Cake or Frosting?
CAKE!!!!!!!!!
